

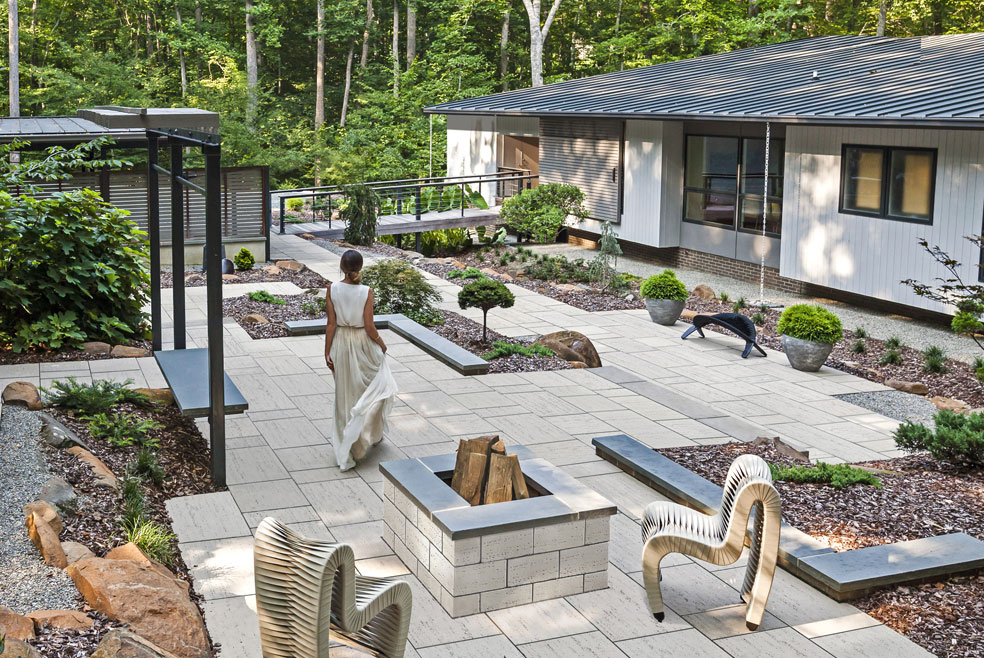
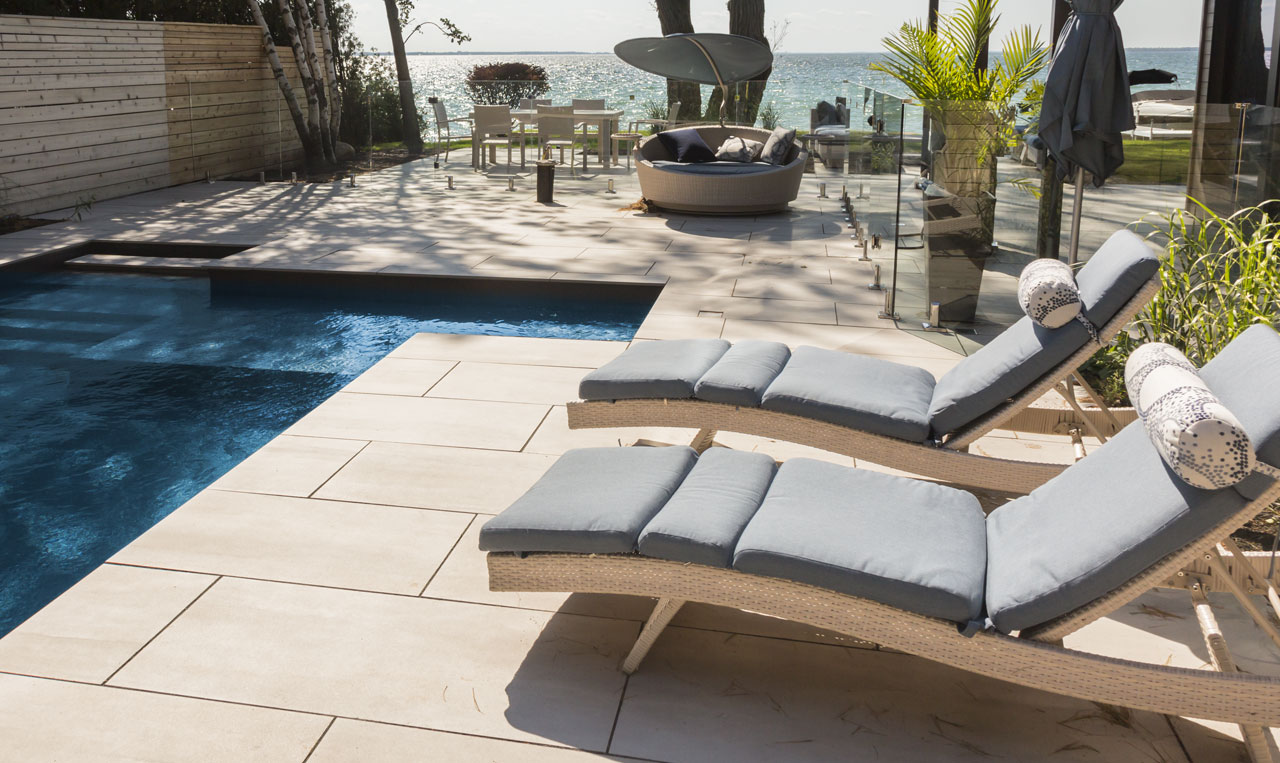
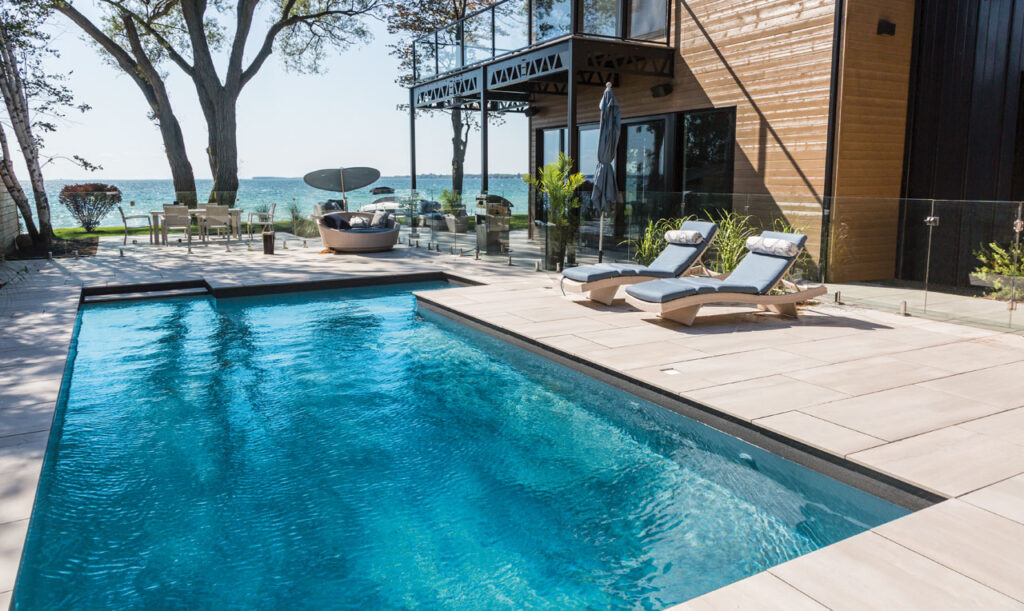
- Large-format outdoor porcelain tiles
- Residential applications
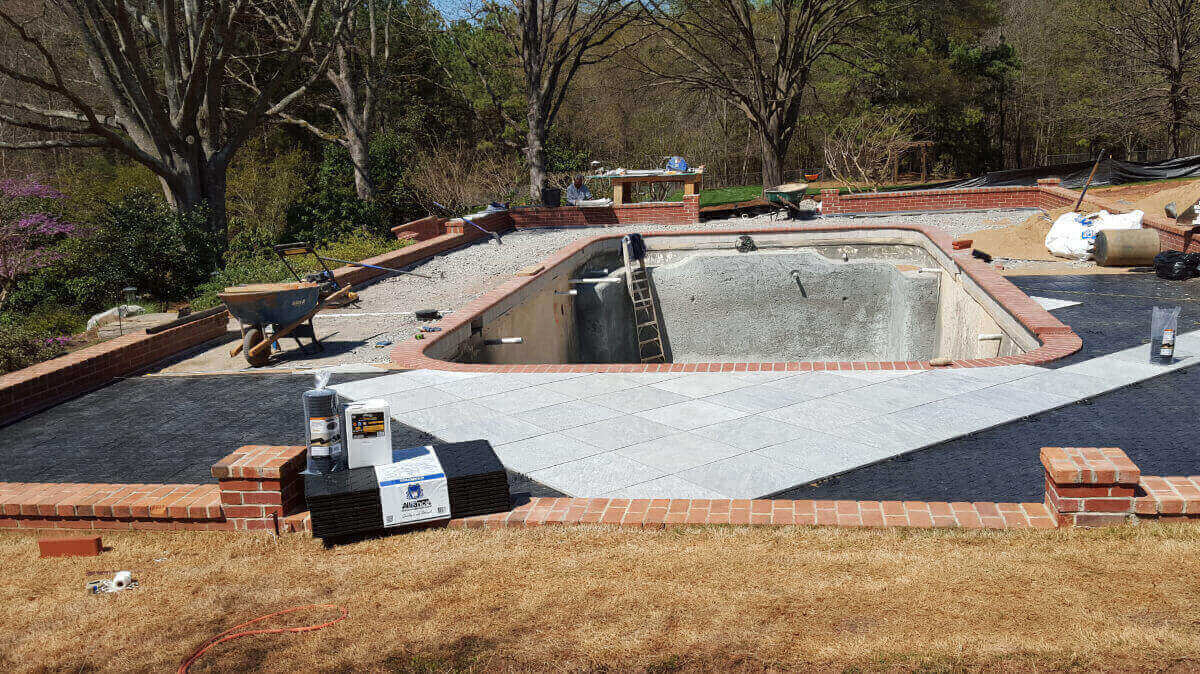
- All pedestrian uses: patio, pool deck, walkway
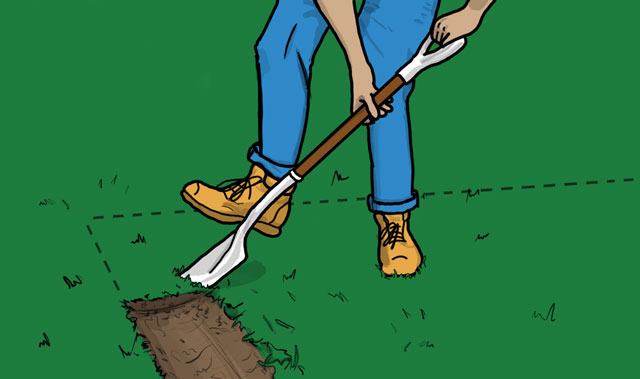
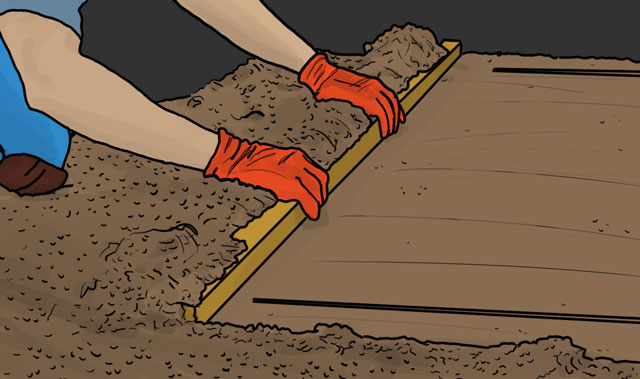
- Replacing a concrete slab
- Evacuating water through the channel
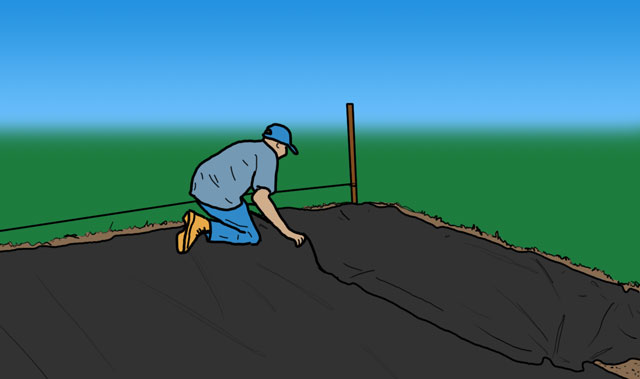
- The environment the Gator Base is 100% recyclable
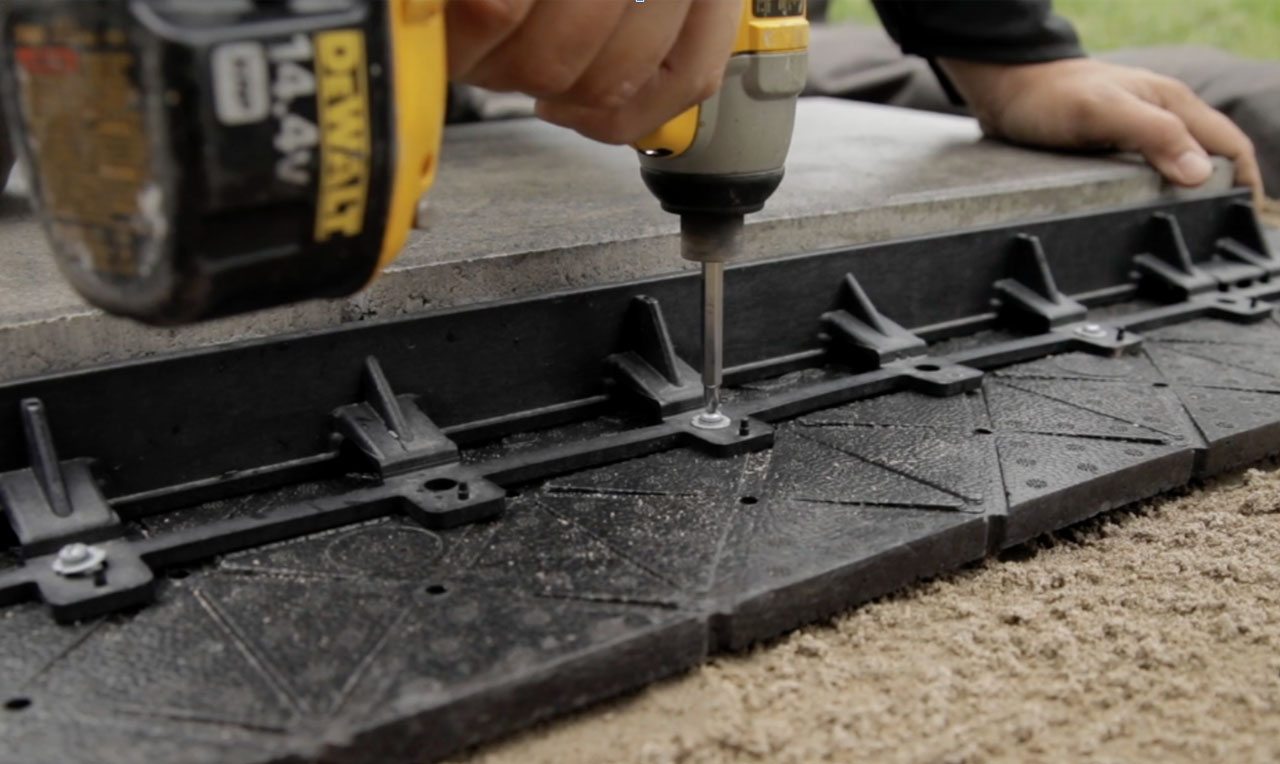
- Facilitates the installation of outdoor porcelain tiles
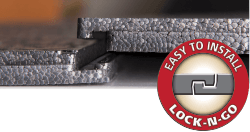
- Easiest outdoor tile installation system
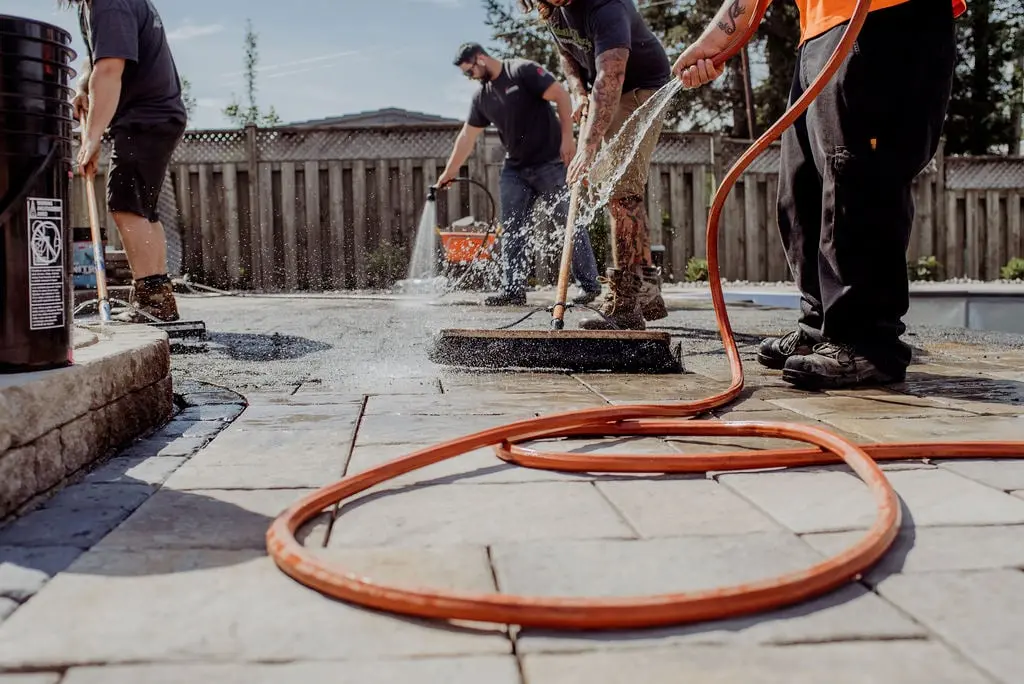
- Complete the job faster
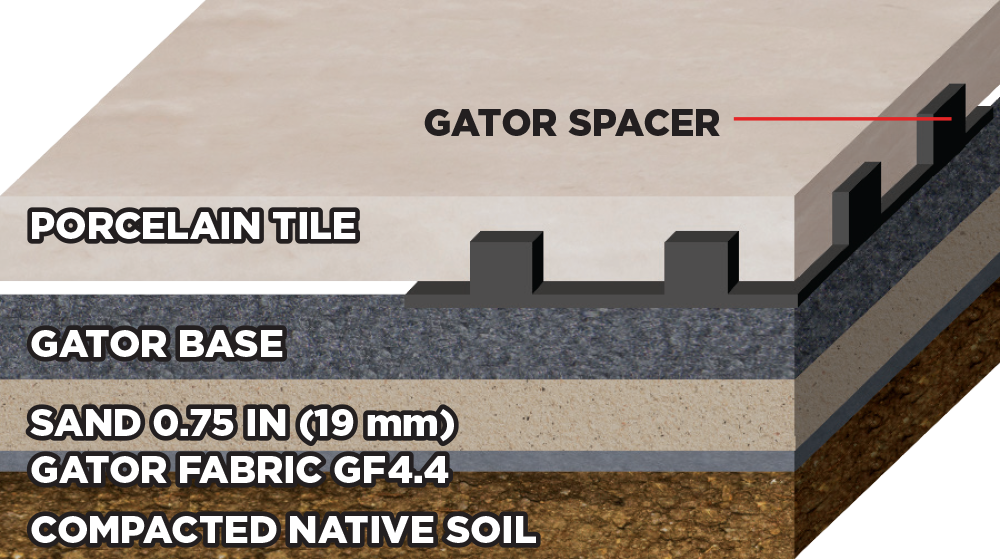
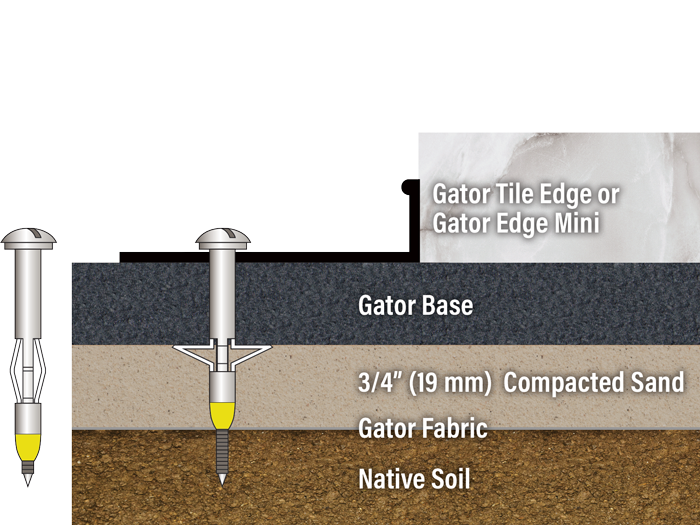
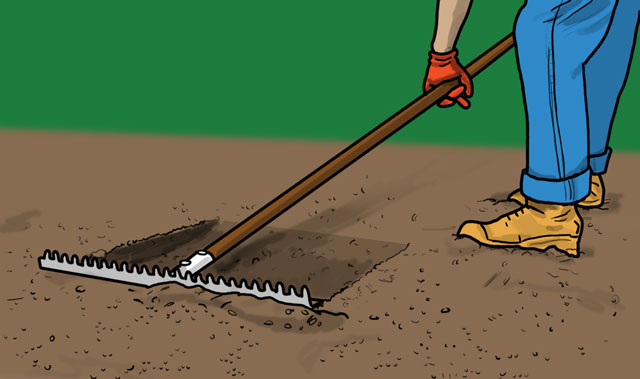
- Replacing the excavation and backfill of of 6″ (15 cm) of crushed stone
- Lock-in system with spacers, glued, to the tiles, creating a monolithic surface
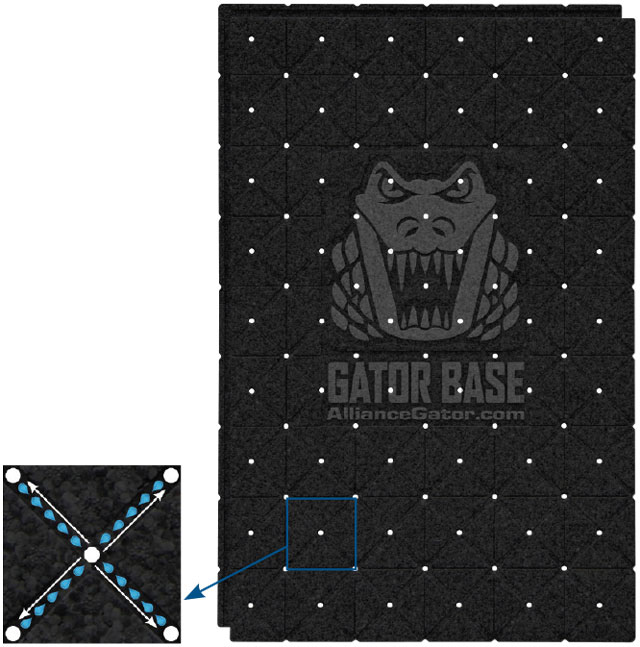
- The Gator Base designed tongue-and-groove system
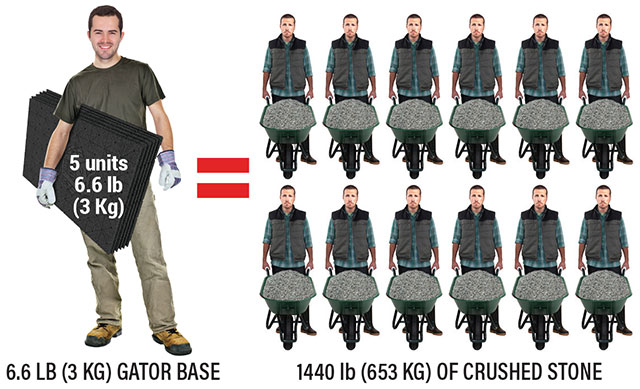
- Replacing the equivalent of 288 lb (130 kg) of crushed stone per unit of Gator Base

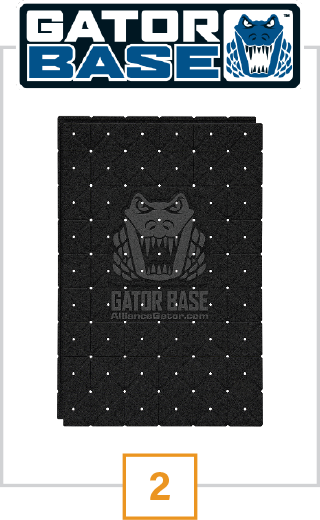

- Save 6″ (15 cm) of additional excavation
- Save 6″ (15 cm) of compacted crushed stone
- 50% savings on the costs of soil excavation
- Save the cost of truck and driver on the road
- Avoids costly unloading and dumping fees
- Reduces labor costs by a minimum of 20%
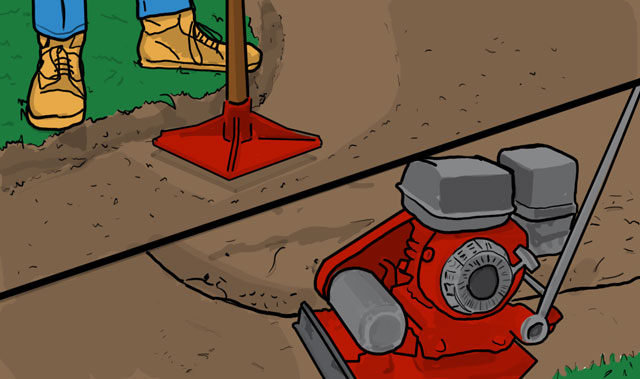
- Reduces wear and tear on machinery
- Reduces overall installation time
- Reduces unnecessary excavation
- Project completed faster and easier
- Gator Base panels help transfer dynamic and static loads
- Helps to combat the labor shortage
- Take Note: For pedestrian use only
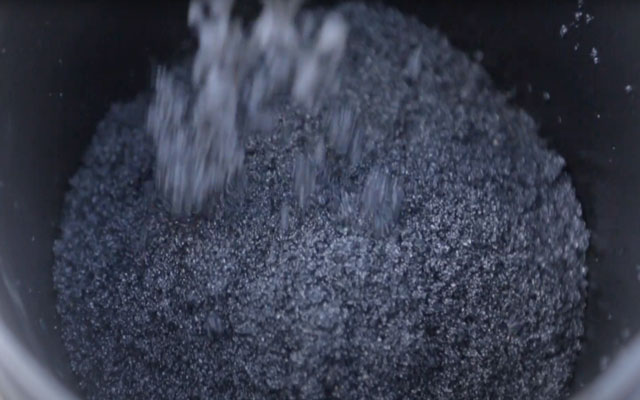
- Manufactured using lightweight high-density polypropylene
- Has an R-Value of 3.6 which acts as a thermal blanket
- Is extremely durable and will not degrade in the ground
- Equivalent to 288 lb (130 kg) of crushed stone
- Designed with a tongue and groove system LOCK-N-GO
- Replaces 6″ (15 cm) of compacted crushed stone
- Designed for pedestrian applications only
- Water evacuation channels
- Covers 5.79 sq. ft. (0.54 sq. m.) per panel
- Watch our video
Water evacuation channels
Under License from Brock International Patented and Patents Pending: www.brockpaverbase.com
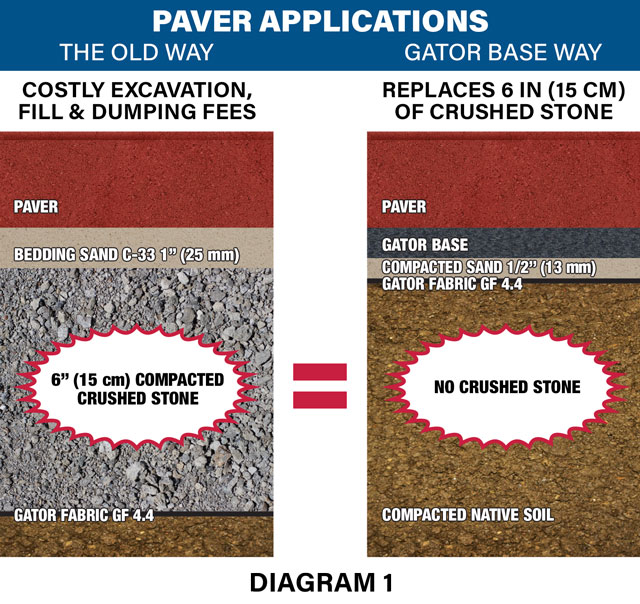
- Gator Base replaces 6″ (15 cm) of crushed stone!
- Saves hours of work!
- Installation on compacted sand or ASTM No. 9 stone also used for permeable joints application
- Equivalent to a traditional granular base under dynamic loads
- The interlocking panels distribute dynamic loads of up to 8 PSI (55 kPa) or 1152 lb (522 kg) on a 12″ x 12″ (30 cm x 30 cm) tile to a very wide area, practically eliminating any pressure on the ground
- LOCK-N-GO: designed with a tongue and groove system
- Better frost protection
- Less destructive to property during the construction phase
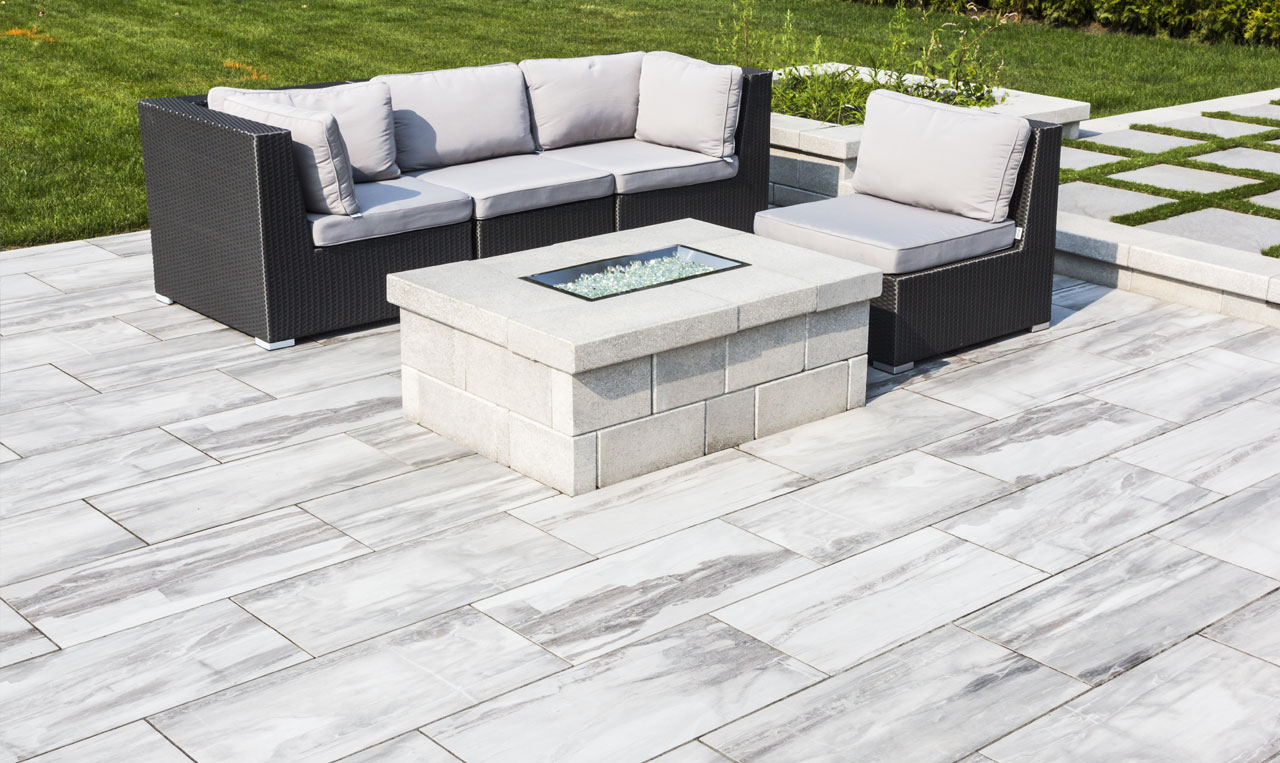
- Installing large Tile format
- Building; patios, walkways and pool surrounds
- Supporting an 18″ (45 cm) seating wall or fire pit
- Compatible with a heated paving system (up to 122°F (50°C))
- Staging tiles throughout the Gator Base
- To avoid stepping on setting bed
- Replaces a traditional granular base
- Completing job minimum 20% faster
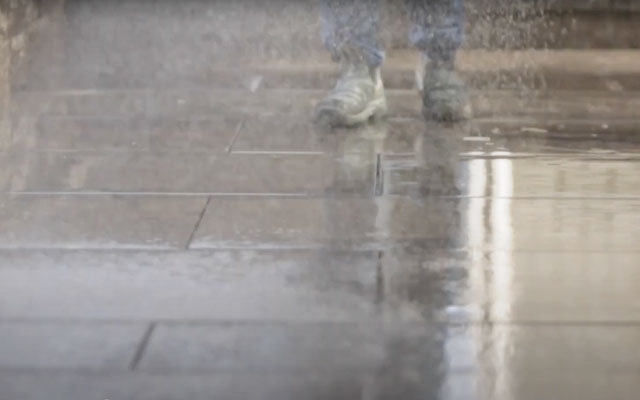
- Tolerant against rain showers
- Watch our video
- All projects with difficult or easy access
- Up a hill
- Narrow workspaces
- Where construction speed is critical
- No industrial equipment required
- Areas with restricted access
- Stairs
- Narrow alleys
- Easy to use, install and transport
- Material storage is prohibited in streets
- Porcelain tile installations
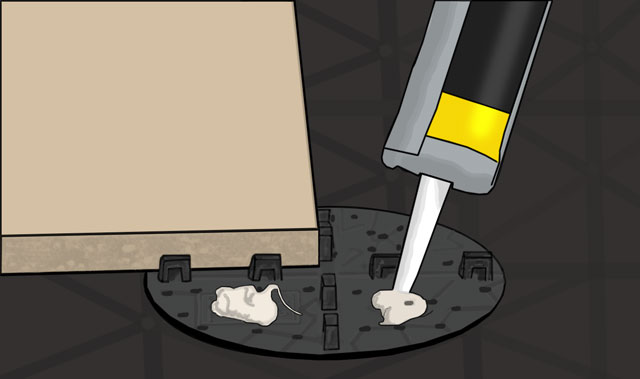
The spacer disk can be cut into either a half or a quarter-unit (using an utility knife) to be used along the edge of a building or the Gator Tile Edge. Simply break the spacer bar’s to obtain a flat disk, when spacer is needed on larger porcelain tile.
| Joint Size | Colors | |
|---|---|---|
| 1/4″ (6.4 mm) | Black | |
| 3/16 (4.8 mm) | Grey | |
| 1/8″ (3.2 mm) | Blue |
| Calculator | |
|---|---|
16″ x 16″ (40 x 40 cm) tiles sq. ft. × 0.4 = number of spacers (sq. m. × 4.3 = number of spacers) | |
24″ x 48″ (60 x 120 cm) tiles sq. ft. × 0.35 = number of spacers (sq. m. × 3.77 = number of spacers) | |
16″ x 32″ (40 x 80 cm) tiles sq. ft.× 0.75 = number of spacers (sq. m. × 8 = number of spacers) | |
36″ x 36″ (80 x 80 cm) tiles sq. ft. × 0.29 = number of spacers (sq. m. × 6 = number of spacers) |
| Product | Joint Size | Units per pack | Packs per box |
|---|---|---|---|
| GATOR SPACER | 1/4″ – 3/16″ – 1/8″ (6.4 mm – 4.8 mm – 3.2 mm) | 50 | 6 |
- Outdoor porcelain tiles
- Overlays and pool copings
- Fire pits (up to 400°F (204°C))
- Steps and wall caps
- Dry and damp surfaces
- Permanent Bond in 24 hours
- Long open time – repositioning up to 30 minutes
- Works above 32°F / 0°C
- High solids – provides excellent coverage
- Non-shrinking – does not crack or lose bond
- Xtra Bond Strength (up to 3 times the strength of conventional adhesives)
- Xtra Durability against torsion and tension
- Waterproof
- VOC compliant
- Low odor
| ADHESIVE STRENGTH CHART | 24 hours | 7 days |
|---|---|---|
| Concrete to concrete | 850 PSI | 1000 PSI |
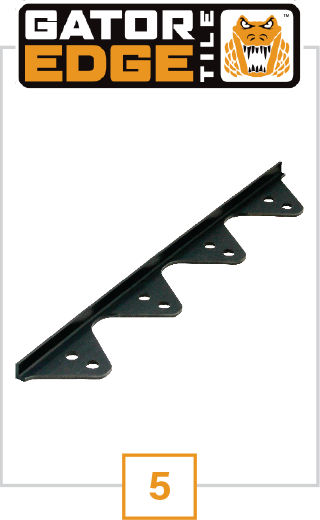
- Reinforces the outside perimeter
- Creates a strong lateral support
- Will not corrode
- Easy-to-use
- Versatile
- Robust system
- Support strength
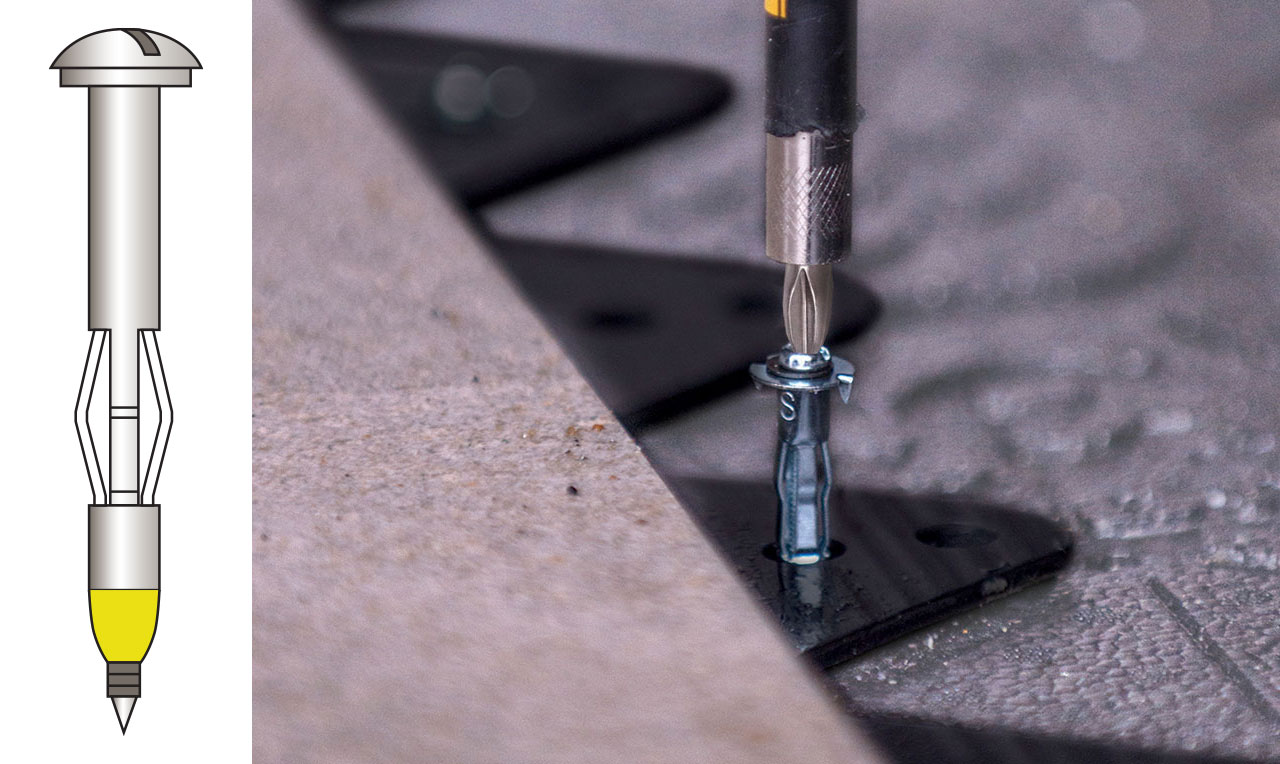
- Come in 8-ft (2.44 m) lengths
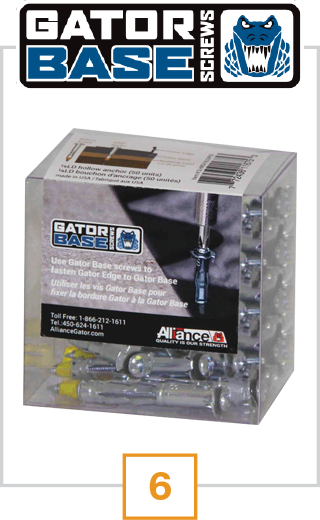
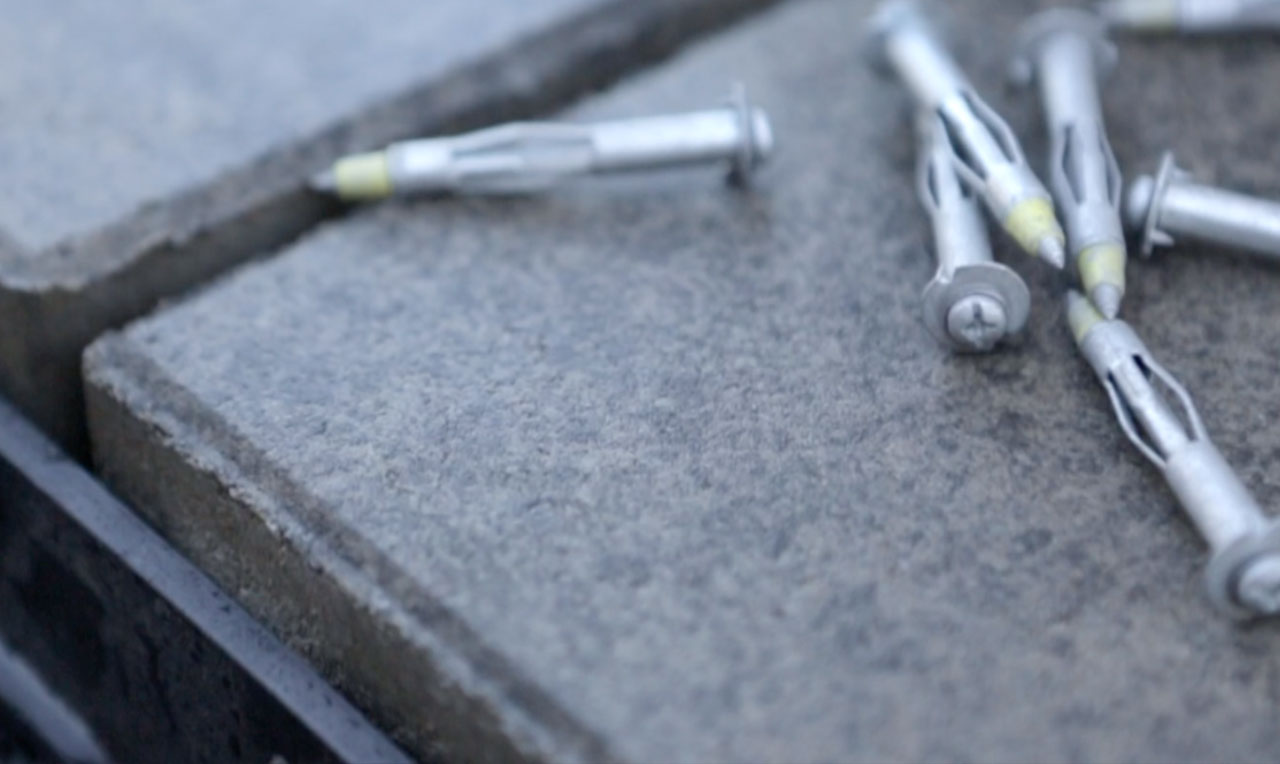
- Use with Gator Base Screws
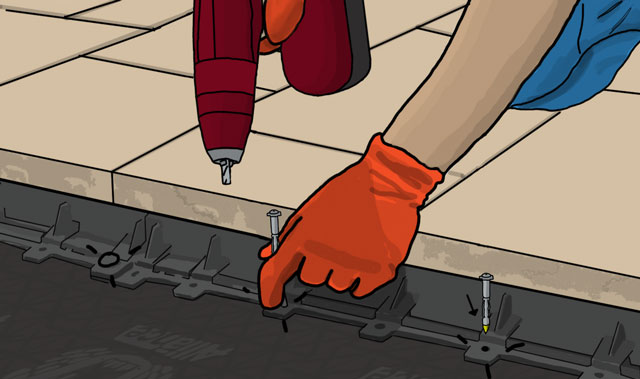
Fastening Gator Tile Edge with the GATOR BASE SCREWS through the Gator Base reinforces the outside perimeter, creating a strong lateral support. GATOR BASE SCREWS are a required component on any Gator Base install.
- Fasten the Gator Tile Edge to Gator Base
- Locking all components into one
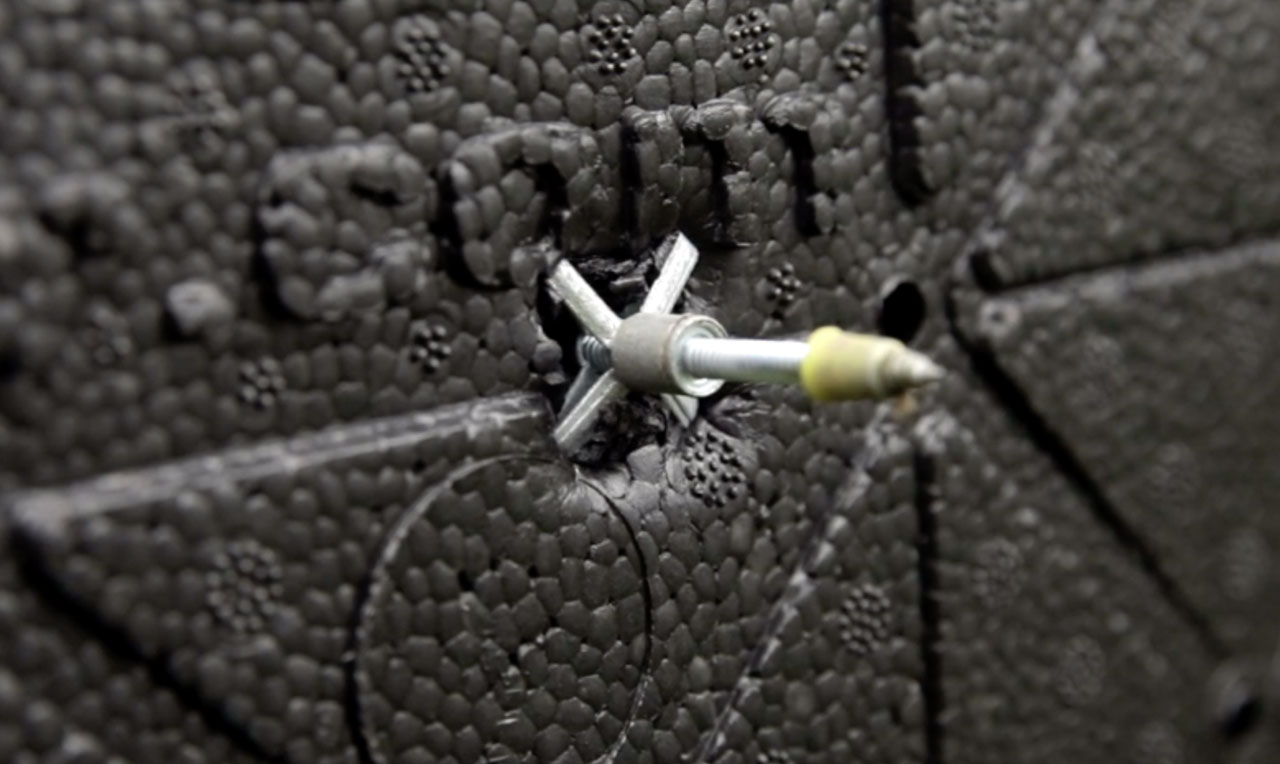
- Use with all Gator Base installation
- Use with all the Gator Edges: Rigid and Flex, Mini and Tile
- Reinforces the outside perimeter
- Creates a strong lateral support
- Locking all components into one
- Use GATOR BASE SCREWS to fasten Gator Edge to Gator Base
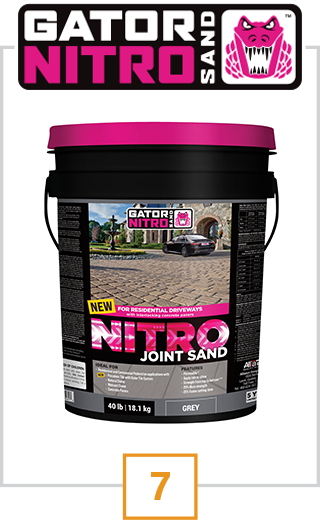
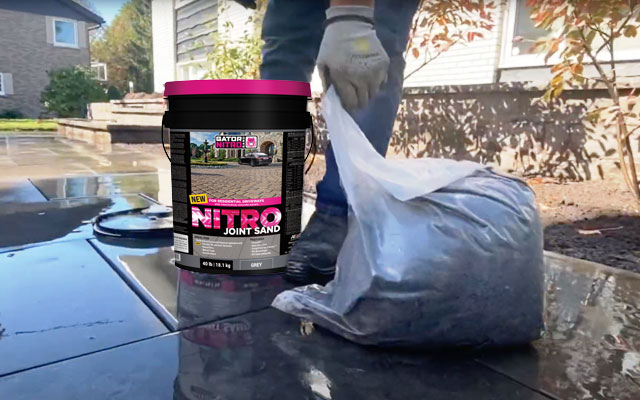
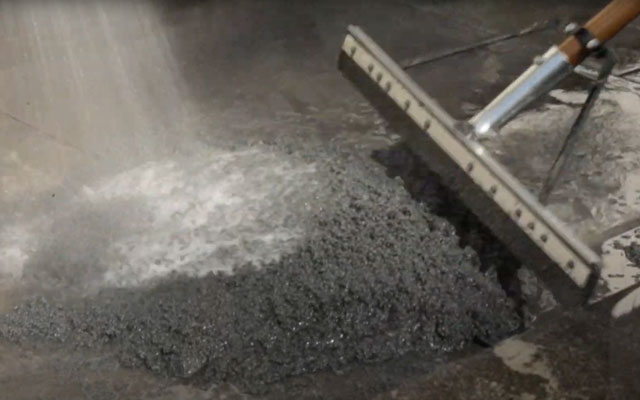
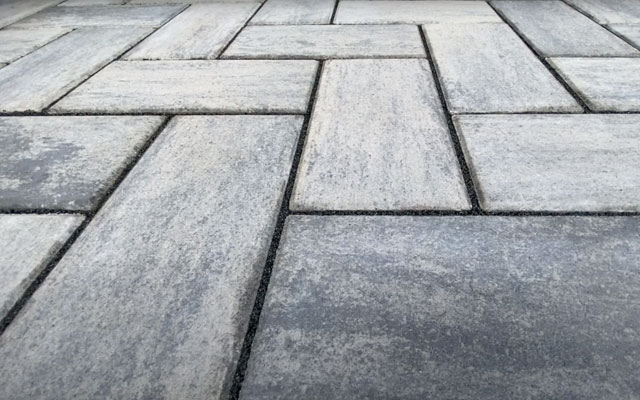
- Outdoor porcelain tile joints
- Pedestrian use
- Residential use
- Permeable
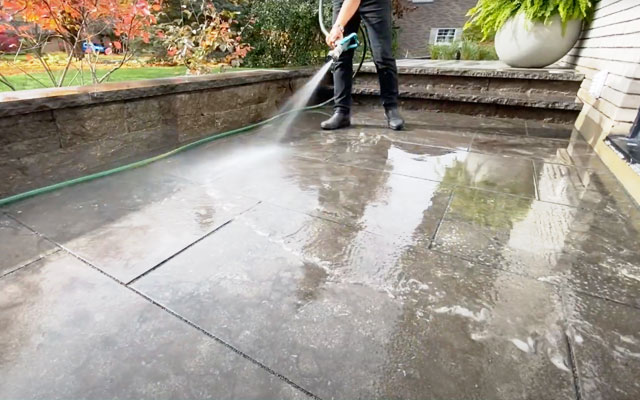
- Apply rain or shine
- Strength from top to bottom
- 25% More strength
- 25% Faster setting time
