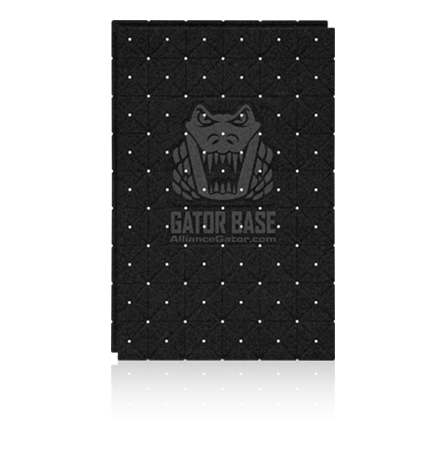
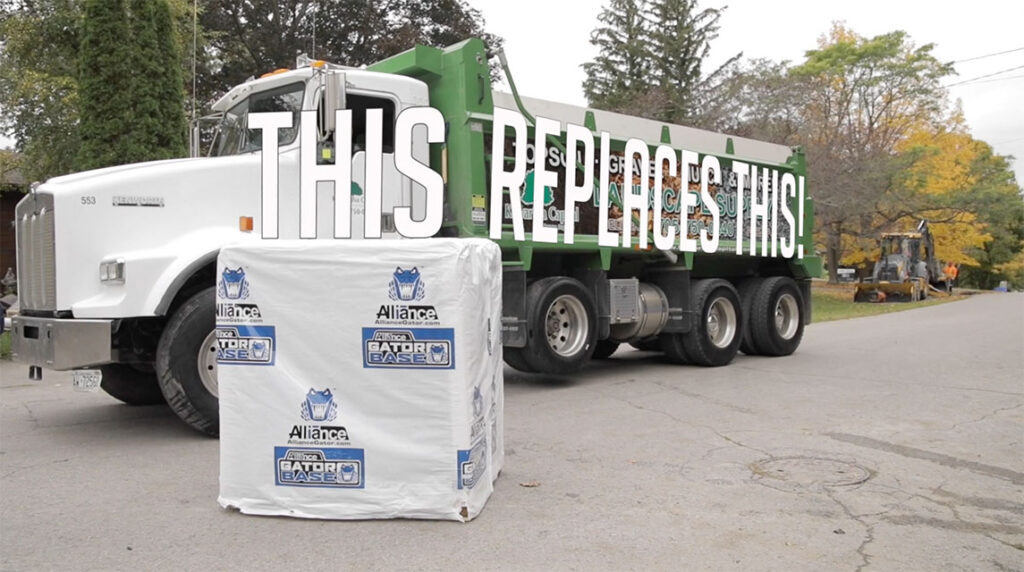
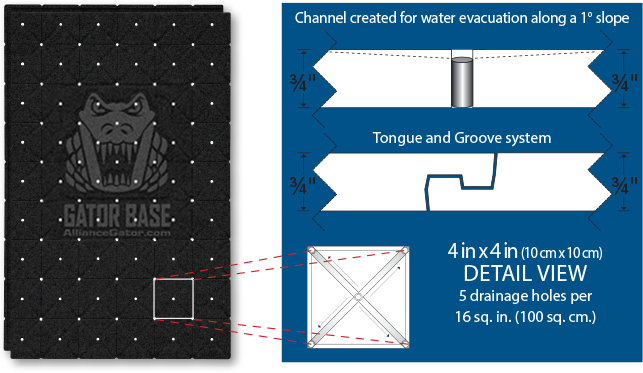
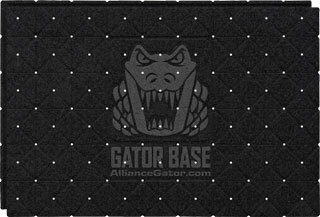
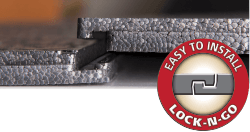
GATOR BASE is an evolution of foundation technology, which saves you time, labor and money. It is manufactured for pedestrian applications such as: patios, pool decks, walkways, 18″ (45 cm) seating walls and fire pits, allowing you to clearly define your spaces and highlight the focal points of the dream staycation area. Designed with a tongue and groove system, GATOR BASE is easy to install. A single GATOR BASE panel is also equivalent to 130 kg (288 lb) of crushed stone, saving you a minimum of 6″ (15 cm) of additional excavation. The GATOR BASE drains water through channels and is made from lightweight, high density polypropylene. Environmentally friendly, GATOR BASE is 100% recyclable, extremely durable and GATOR BASE does not degrade in the soil when buried.
Final dimensions at installation:
23.5″ x 35.5″ (59.5 cm x 90 cm) = 5.79 sq. ft (0.54 sq. m.), 3/4″ (19 mm) thick, weight = 1.32 lb (0.6 kg) each
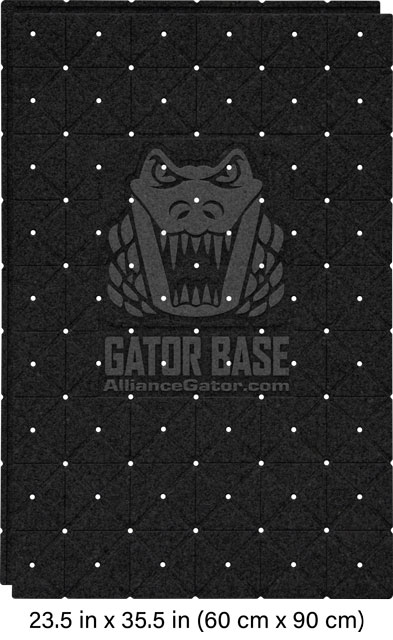
Coverage per Gator Base Unit
Total area 24.25″ x 36.25″= 6.1 sq. ft. / 61.5 cm x 92 cm= 0.566 sq. m.
Usable surface 23.5″ x 35.5″= 5.79 sq. ft. / 59.5 cm x 90 cm= 0.536 sq. m.
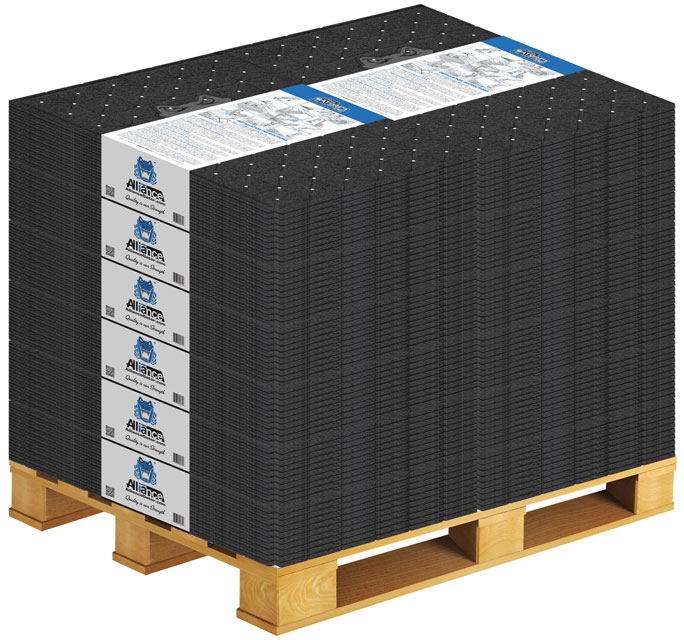
| Product | Size | Units per Pack | Units per Pallet |
|---|---|---|---|
| GATOR BASE | 24.25″ x 36.25″= 6.1 sq. ft. / 61.5 cm x 92 cm= 0.566 sq. m. | 10 | 120 |
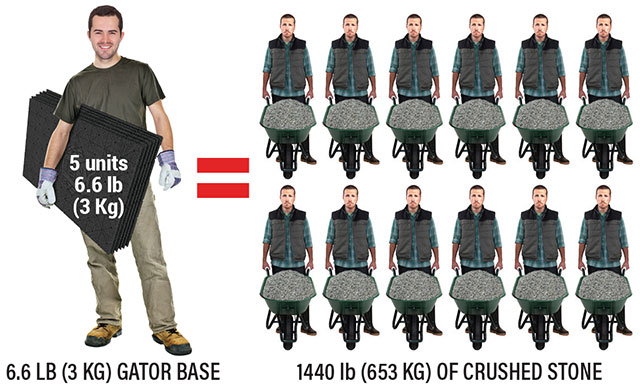
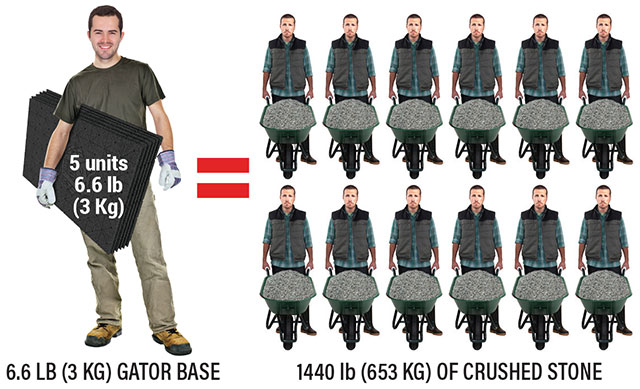
5 Gator Base = 28.95 sq. ft. (2.7 sq. m.) and weighs 6.6 lb (3 kg) = Installed within minutes!
12 wheelbarrows of crushed stone = 28.95 sq. ft. (2.7 sq. m.) X 6″ (15 cm) and weighs 1440 lb (653 kg) = Many hours of work!


IT’S A BETTER INSTALLATION!
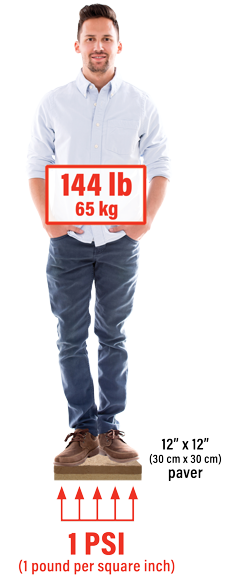
1 PERSON OF 144 LB (65 KG) ON A 12″X12″ (30 X 30 CM) PAVERS PRODUCES 1 PSI (6.89 KPA) LOAD
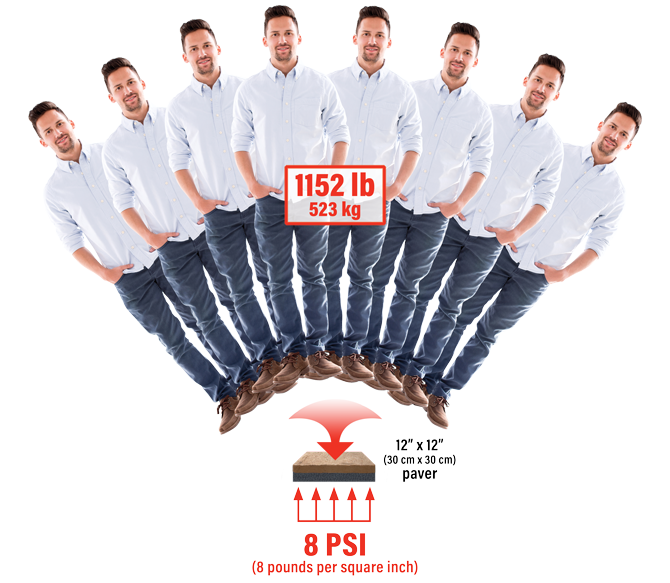
GATOR BASE SUPPORTS A DYNAMIC LOAD OF UP TO
8 PSI (55.2 KPA) OR 1152 LB (523 KG) ON A 12″ X 12″ (30 X 30 CM) PAVER
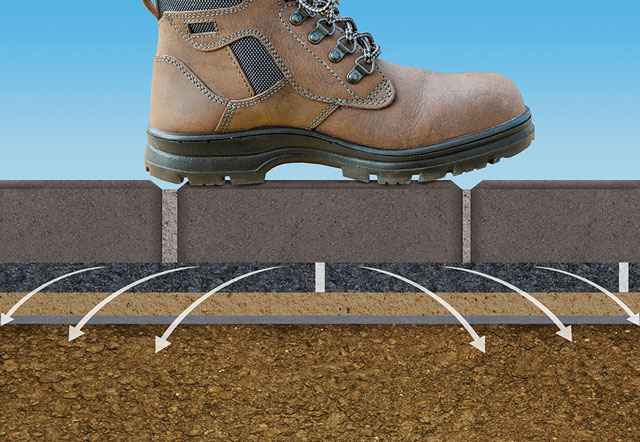
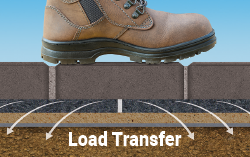
One GATOR BASE panel is equivalent to 6″ (15 cm) of crushed stone. The interlocking panels distribute all dynamic loads to a very wide area practically eliminating any pressure on the ground.
Alliance Designer Products Inc. has introduced to the market a revolutionary technology that will save 20% of time, labor and money when installing concrete pavers, natural stones or porcelain tiles.
With the GATOR BASE panel, you can save 6″ (15 cm) of extra excavation, long hours for installation and the transportation of tons of aggregate.
This technology exhibits the polypropylene memory characteristics and allows the material to retain its original shape. Alliance Designer Products Inc. is now using this technology in their GATOR BASE panel for the hardscaping industry.
An exhaustive and serious evaluation was made in collaboration with the Université du Québec’s engineering institute (ETS), in the laboratory of their Pavements and bituminous materials department, in order to compare the GATOR BASE panels to a traditional method of paving stone installation with aggregate.
See (University Report tab) for more in depth information.
Conclusions from results obtained by ÉTS* when comparing GATOR BASE system versus traditional granular base system.
*École de technologie supérieure (or ÉTS) is part of the Université de Québec.
Download the University Reports



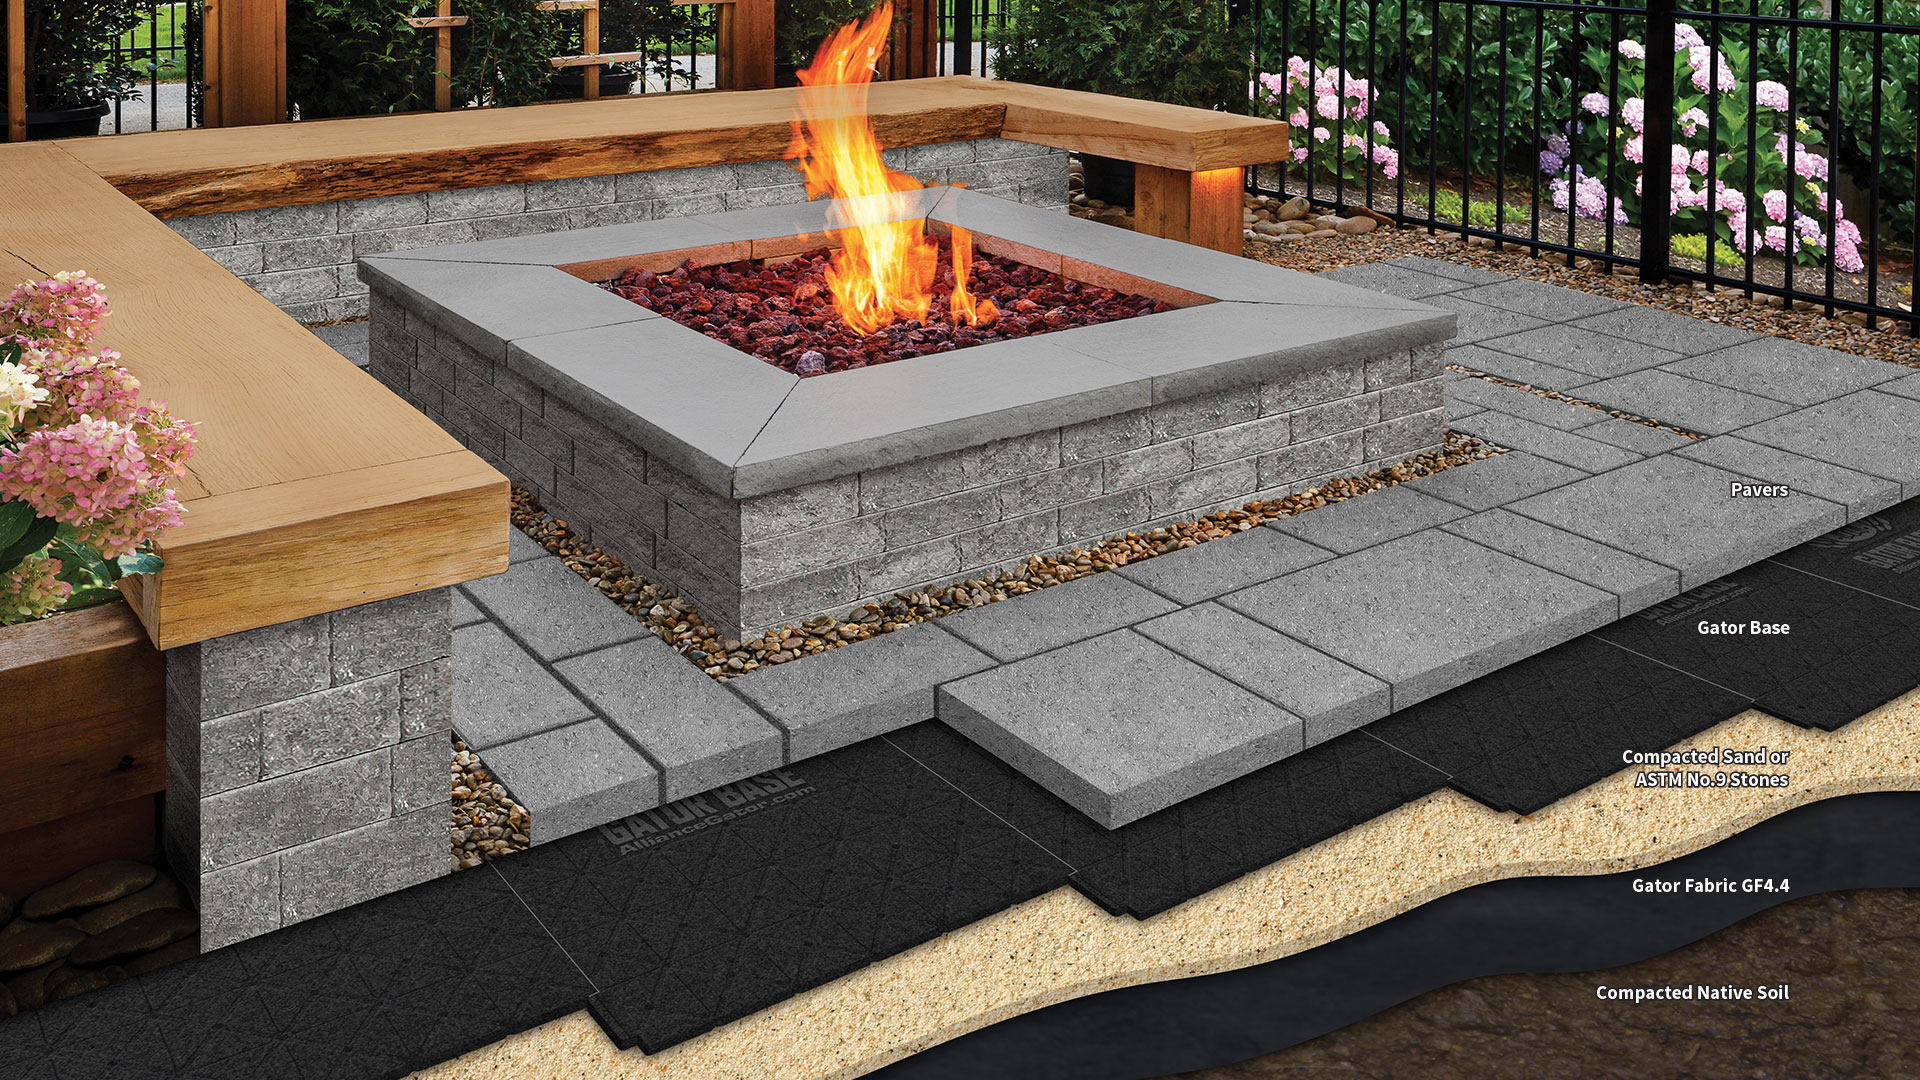
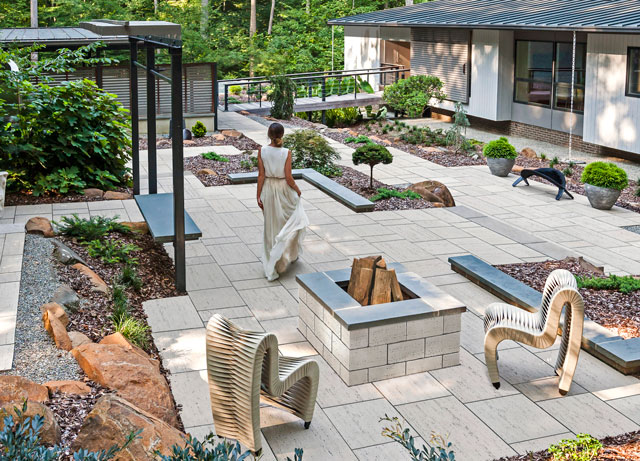
No one wants the needless inconveniences or expenses that can come with installing a hardscape project. With GATOR BASE and its superior design, less excavation means less equipment, faster installation, less disruption, and less physical stress on your customer’s property. This translates to a better installation and a beautiful addition to your customer’s home that they will enjoy for many years to come.
Paver application
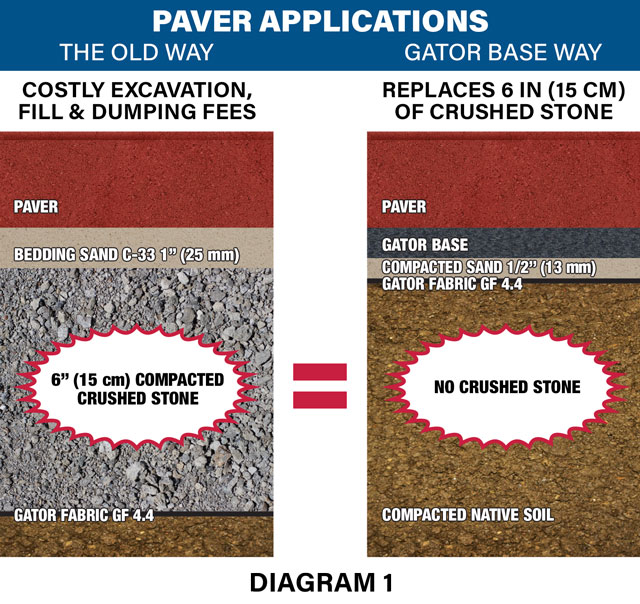
The Diagram 1 is showing the excavation needed for Paver applications of the OLD WAY vs the GATOR BASE WAY.
The pavers’ height (1 1/8″ to 3 1/8″ [2.8 to 8 cm]), GATOR BASE and the 3/4″ (19 mm) sand layer (C-33 sand or ASTM No. 9 stone) will determine the total excavation depth needed.
GATOR BASE replaces 6″ (15 cm) of crushed stone.
Natural Stone application
The Diagram 2 is showing the excavation needed for Natural stone applications of the OLD WAY vs the GATOR BASE WAY.
The natural stones’ height (1 1/8″ to 3 1/8″ [2.8 to 8 cm]) GATOR BASE and the 3/4″ (19 mm) sand layer (C-33 sand or ASTM No. 9 stone) will determine the total excavation depth needed.
GATOR BASE replaces 6″ (15 cm) of crushed stone.
Adding 1/2-1″ (13-25 mm) bedding sand or ASTM No. 9 layer on top of the GATOR BASE is also an accepted installation method.
Paver Overlay application
According to ICPI Tech Spec #10, to allow for water evacuation, there must be a 2″ (5 cm) drainage hole filled with 1/4″ or 3/8″ (6 mm or 9 mm) clean stone and covered with a 12″ x 12″ (30 cm x 30 cm) geotextile at every 10′ (3 m) starting at the lowest point. For an overlay application over a concrete base, use crushed stone to raise the final level.
Raising the level for a Gator Base application
For a traditional application over compacted soil and Gator Fabric GF4.4, use crushed stone to raise the final level.
When constructing a seating wall or fire pit, the GATOR BASE should extend the perimeter at least 12″ (30 cm) beyond the outside edge of the blocks (Diagrams 5-6) and 6″ (15 cm) when installing pavers (Diagram 7). Secure the Gator Edge to the sides of the seating wall blocks or pavers with Gator Base Screws at every second hole to prevent any lateral movement. If you are building a freestanding seating wall, the GATOR BASE should protrude 12″ (30 cm) from all sides of the seating walls and secured front and back with Gator Edge and Gator Base Screws (Diagram 6).
This step-by-step on how to install a heated paving system using GATOR BASE panels in pedestrian applications.
Factors to consider when excavating – The total depth required will be determined by adding the thickness of the Gator Fabric GF4.4, compacted sand or stone (ASTM No. 9 stone [also used for jointing material in permeable paver application]) (3/4″ [19 mm]), GATOR BASE (3/4″ [19 mm]) and paver, slab, stone or porcelain tile. Excavate 6″ (15 cm) wider than the perimeter of the paved surface or 12″ (30 cm) when building a seating wall or fire pit. Use a shovel or excavator to complete the excavation. Before excavating, consult with local utilities to avoid damaging any buried pipes or wires.
A • After excavation, level the surface with a rake or shovel. Plan a 2% slope from any structure, especially a house. B • To compact the soil densely, use a vibrating plate or hand tamper in confined areas. The surface should be as smooth as possible; Using a pipe, check by rolling it over the compacted surface to check that there are no protrusions or hollows of more than 3/8″ (1 cm). Using string, spikes and a level (attach the string to the spikes), proceed with the leveling in order to ensure a 2% slope. Once the ground leveling is complete, carry on to step 3.
A • Cover the excavated area and sides with Gator Fabric GF4.4. B • Spread an even layer of sand (3/4″ [19 mm] thick) over the Gator Fabric GF4.4. The use of stone in the size of ASTM No. 9 is also an accepted method of installation. No compaction is needed. To ensure the uniformity of the biaxial thickness of the sand or the ASTM No. 9 stone, use 2 pipes of 3/4″ (19 mm) spread 4 ft to 6 ft (1.2 to 1.8 m) apart on the Gator Fabric GF4.4. Spread the sand or stone between the pipes. Using a plank, level the fill against the pipes. After removing the pipes, fill in the hollows. Keep in mind that the sand leveling and compaction step are the last step before installing the GATOR BASE. C • Using a hand tamper or vibrating plate, moisten the sand and compact the filling sand to a thickness of 1/2″ (13 mm). The surface should be smooth. This will represent the mirror of the finished product.
Cover the entire excavated surface with the GATOR BASE (the excavation and the GATOR BASE should be 6″ (15 cm) wider on each sides of the final line of pavers or 12″ (30 cm) for a seating wall or fire pit. Lay the GATOR BASE units in an alternating (staggered) pattern and ensure they lock together perfectly, and remain stable while installing the selected stone or paver. With the help of a utility knife, eliminate visible curves or excess salient angles.
Place the pavers or blocks (seat wall, fire pit) directly on the GATOR BASE according to the chosen pattern. (Adding a 1/2″ (13 mm) of bedding sand C-33 on to the surface of the GATOR BASE is also an accepted method for pavers.) Slide the pavers in place. Make sure the GATOR BASE protrudes 6″ (15 cm) on either side of the paving area or 12″ (30 cm) for your seating wall or fire pit (See Diagrams 5-6-7). Install the Gator Edge on the GATOR BASE, firmly against the pavers or blocks. Thread a Gator Base Screw every second hole to maximize the lateral support provided by the Gator Edge. For building a fire pit using GATOR BASE, refer to the 4 different options provided (Diagram 8 options 1-4) and follow the steps according to your situation.
A • Spread the Flexlock Ultra Sand G2 using a hard-bristled broom. Make sure the joints are completely filled with Flexlock Ultra Sand G2. No other material should be in the joints. Leave a coat of Flexlock Ultra Sand G2 on the surface for better compaction and joint consolidation results from Flexlock Ultra Sand G2. B • Using a vibrating plate or roller, slide the Flexlock Ultra Sand G2 into the paver joints. It is recommended to use a rubber or urethane protective pad. A roller compactor is preferable in the case of slabs. Fill the paver joints up to 1/8″ (3 mm) from the top of the paver edge or 1/8″ (3 mm) below the chamfer with Flexlock Ultra Sand G2 polymeric sand. It is recommended to compact in alternating directions to prevent air bubbles or voids in the joints. Repeat steps A and B to make sure the joints are well filled and compacted. Filling narrow joints requires more care. C • Sweep excess Flexlock Ultra Sand G2 off the paved surface, first with a hard bristle broom, then with a soft bristle broom. Check that there is 1/8″ (3 mm) from the top of the paver edge or 1/8″ (3 mm) below the chamfer of the Flexlock Ultra Sand G2 polymeric sand. D • Activate Flexlock Ultra Sand G2 by watering 30 sq. ft. (3 sq. m.) for 30 seconds, starting at the lowest point.
If the Flexlock Ultra Sand G2 replaces an existing joint material, the existing material must be completely removed from the joints and the pavers must be completely dry before applying the Flexlock Ultra Sand G2. Follow steps A through D of Flexlock Ultra Sand G2 applications for new paved surface.
Jeudi 21 Mars
1 : 00 PM
Mercredi 20 Mars
1 : 00 PM